I started slacklining when I was 13, all on my own in my family’s backyard. Nobody showed me how, I taught myself. That certainly wasn’t the most efficient way. But it shows something that still matters to me today: anyone can learn to slackline, as long as they stay motivated.
In this post I share the technique tips that helped me most and that I now pass on in my workshops.
The most important thing first: don’t let falling discourage you
At the beginning you’ll fall off the line constantly. That’s part of it, and it’s the same for everyone. The most important step is not to get discouraged and to keep getting back on. By the way, that lesson has helped me a lot away from the line too, later in life just as much.
And yes, it sounds obvious, but it’s true: practice, practice, practice.
Technique: 6 tips for your first steps
1. Don’t look at your feet
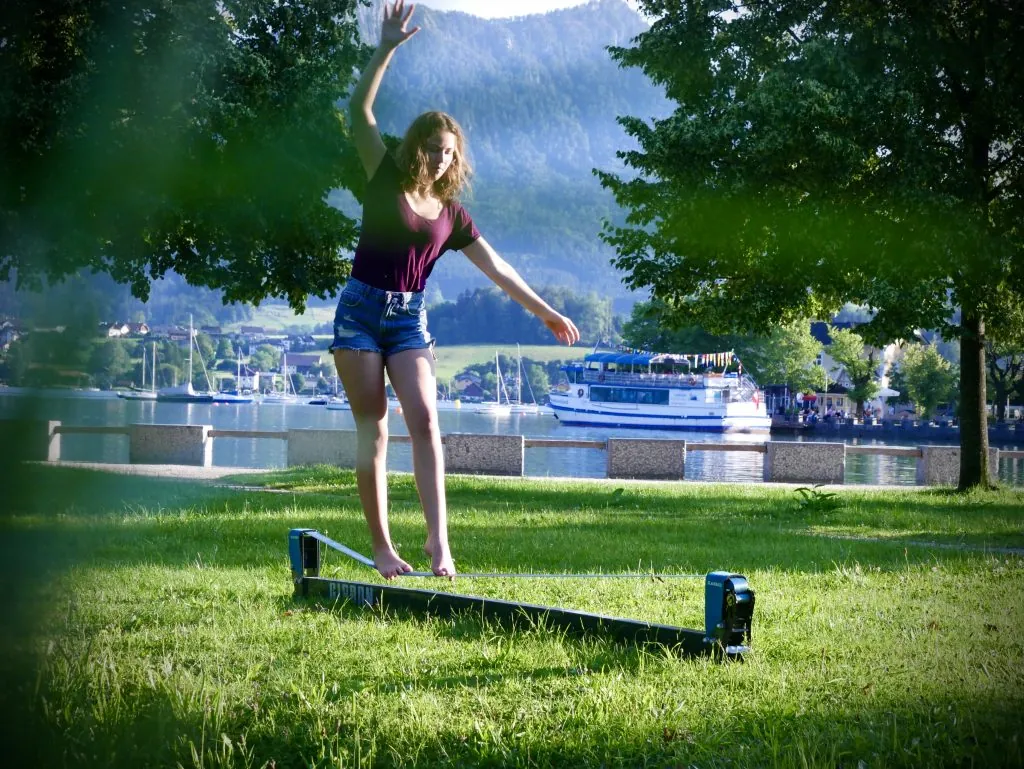
The most common mistake: looking down at your feet. Instead, pick a point that doesn’t move, for example the tree at the end of the slackline, and look there. It feels a bit strange at first, but it’s a must for proper technique.
2. Bend your knees slightly
Don’t stand on the line with your legs locked straight. Slightly bent knees make you more mobile and help you absorb the movement of the line.
3. Use your arms
Your arms are your most important balancing tool. Keep them slightly bent and use them actively.
4. Body tension, but don’t tense up
You need body tension, but you mustn’t be too stiff. The line constantly gives you feedback, and you have to stay loose enough to react to it.
5. Engage your core
This helped me enormously, especially on longer and looser lines: engage your core and make sure your hips and shoulders stay as close to directly above the line as possible. Correct with your arms and legs, not with your upper body.
6. Step straight onto the line
Place your foot straight on the line, pointing in the direction you’re walking, not sideways.
It’s easier to learn together
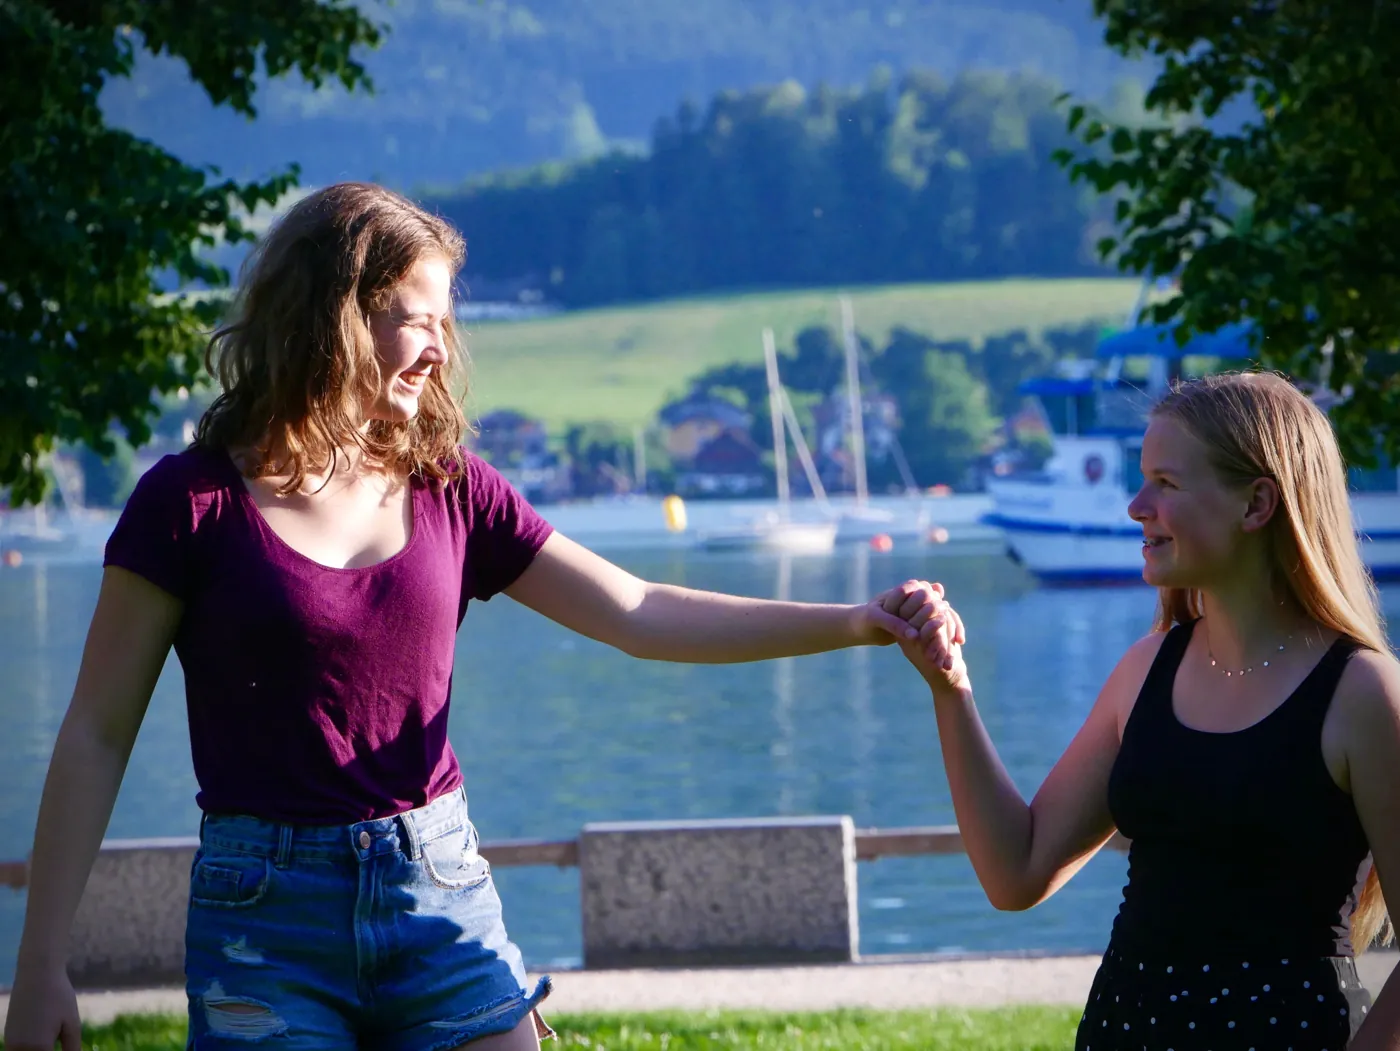
I taught myself everything, but with support it goes a lot faster. A helping hand gives you confidence at the start, and you learn from other people’s mistakes too. That’s exactly what happens in my workshops, for kids just as much as for adults.
Common questions
How long does it take to learn to slackline? That’s very individual and depends on how often you practise. More important than the time is that you get on the line regularly and keep at it.
Which muscles does slacklining train? Mainly your core, your legs and the many small muscles around the feet and ankles. On top of that, concentration and body awareness.
Do I need shoes? That depends on what you’re doing. You’ll find my recommendation in Slacklining With or Without Shoes.
How do I set up the slackline properly? I explain it step by step in How to Set Up a Slackline.
Is there an easier way to start? If you’d rather ease into it, you can start with a Slackboard. My honest opinion is in Slackboard vs. Slackline.
Conclusion
Eyes forward, knees slightly bent, arms active, core engaged and step straight onto the line: with these basics you’re on the right track. The rest is practice and being willing to get back on after every fall.
If you’d rather learn with guidance, for yourself, your family, your school class or your team, take a look at my slackline workshops. And if you want to know everything slacklining can be, read What is Slacklining?.